


Jeff Overall
Founder, Adventurer
PolarPro
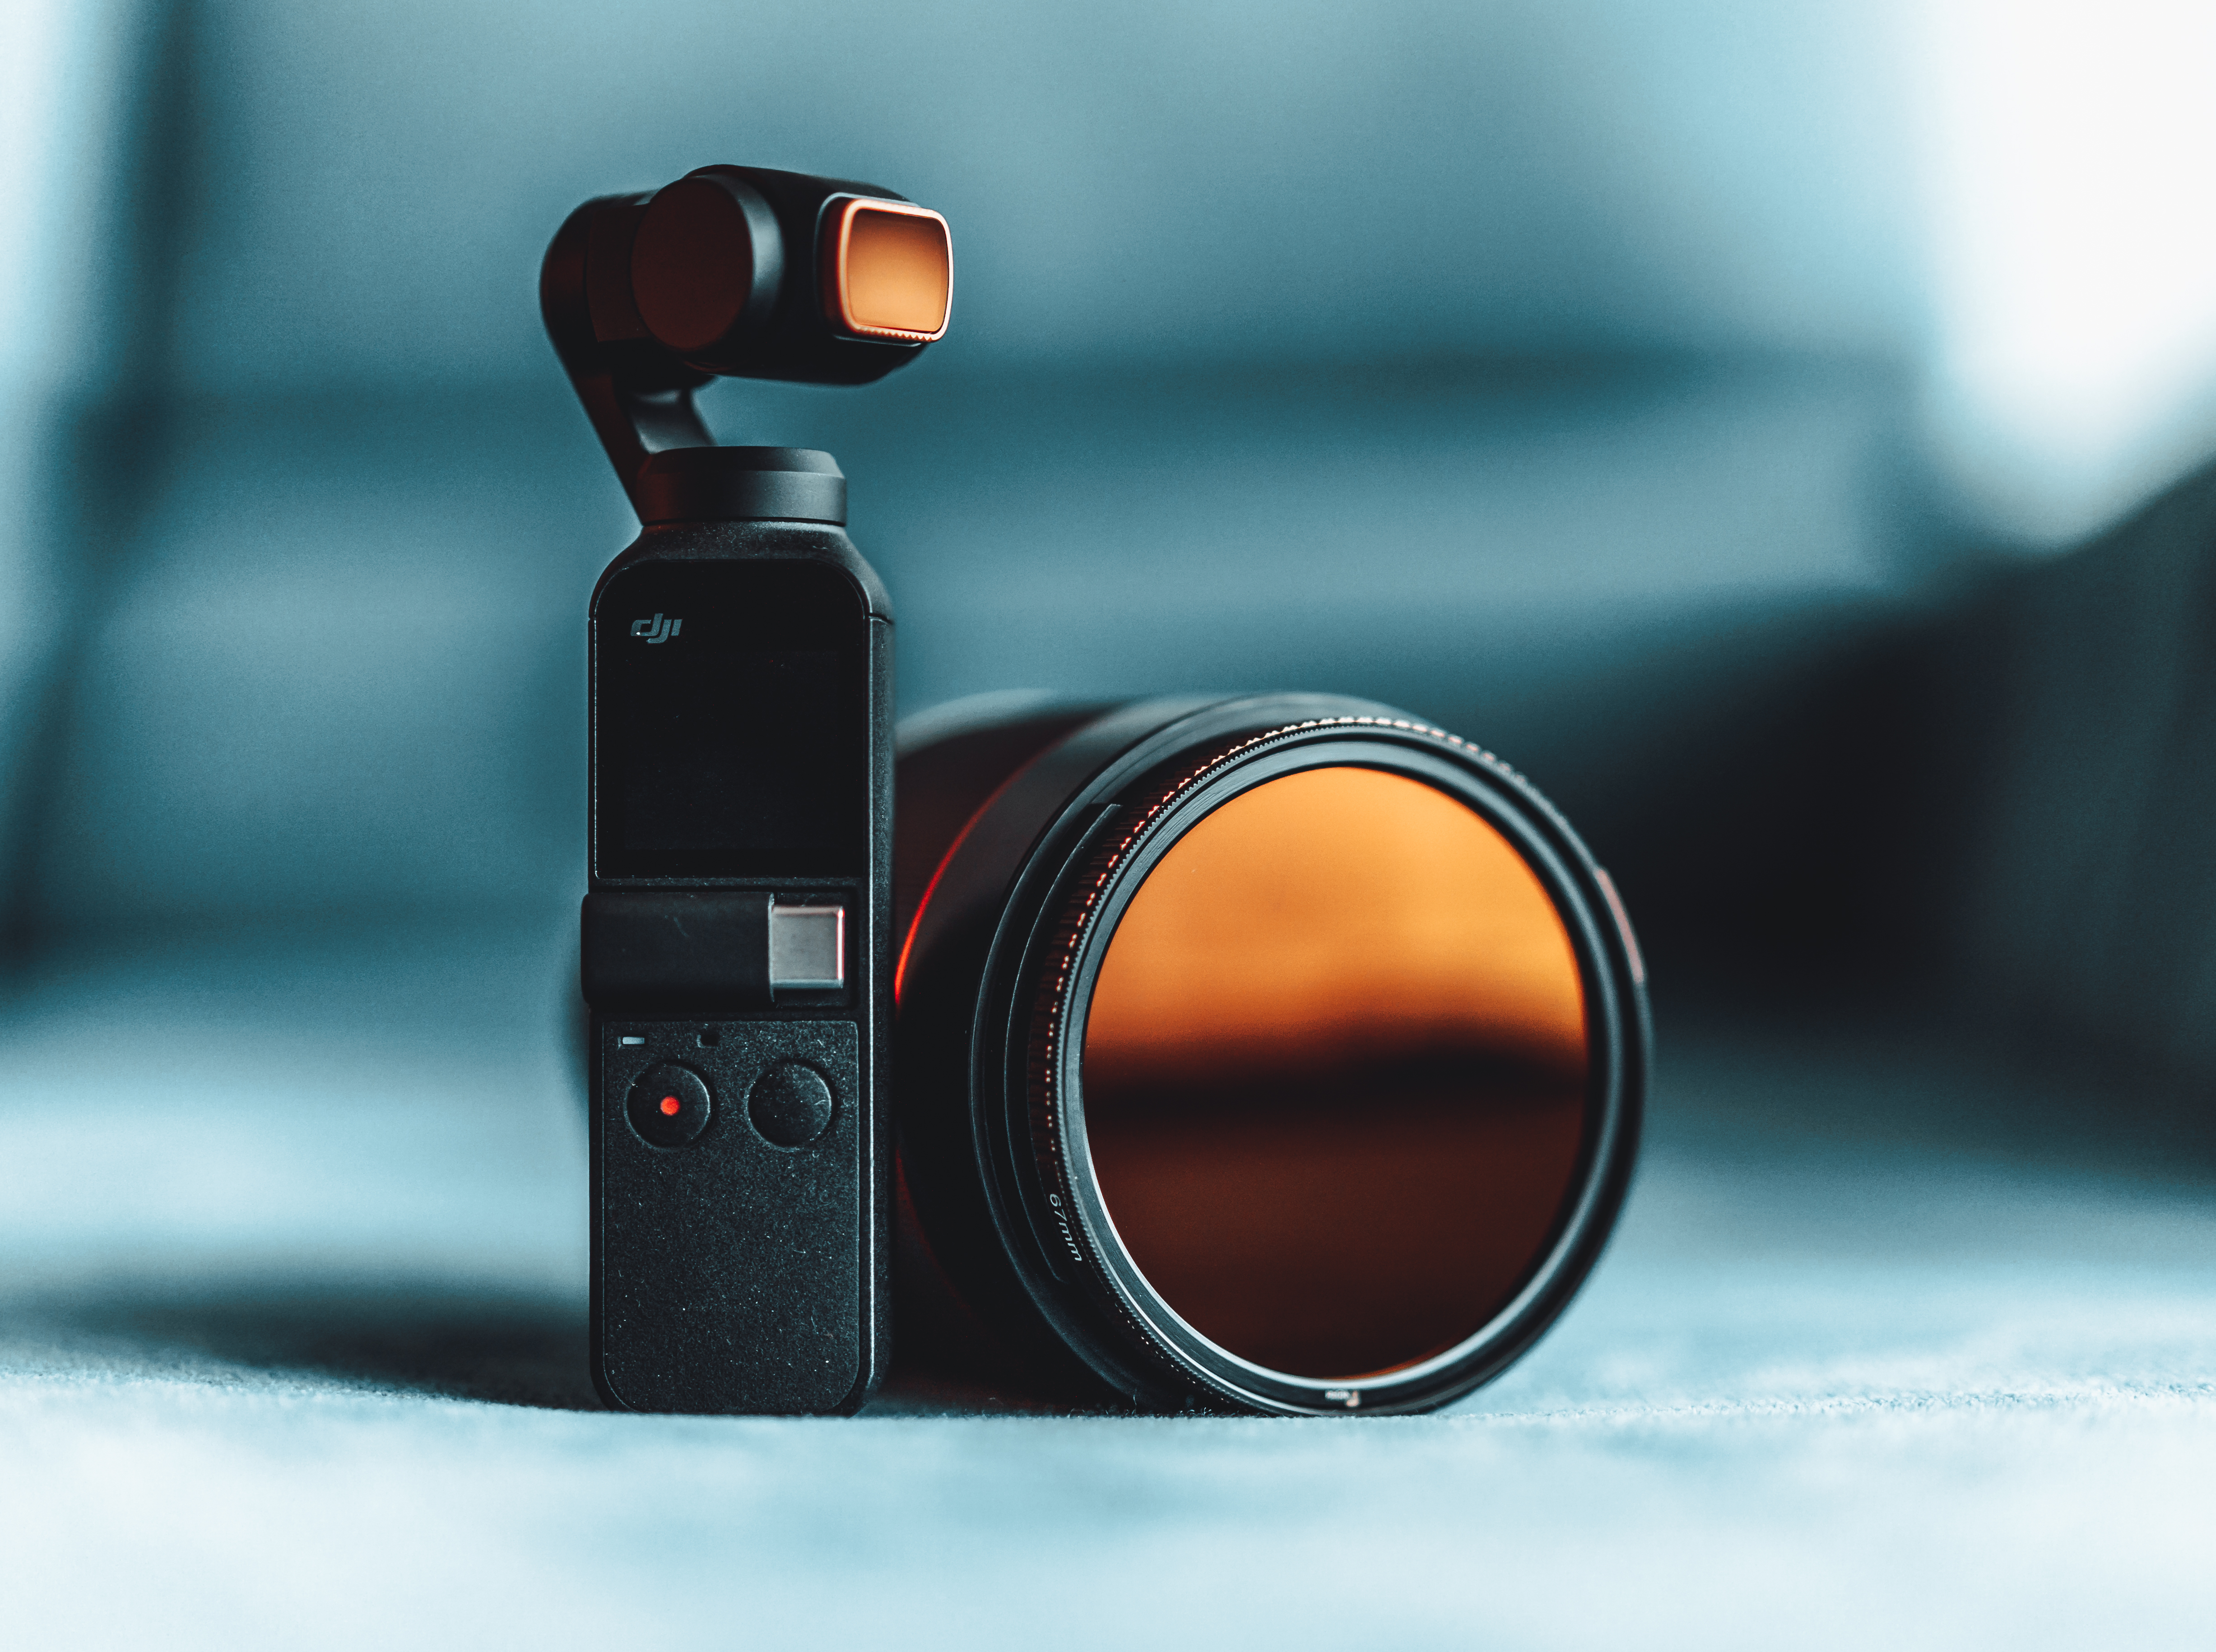
Hey everyone, Jeff with PolarPro, here are my 5 go-to camera settings for cinematic video, when shooting with the Osmo Pocket.
Setting 1: Resolution
My go to resolution is 4K, and I like it for a couple reasons. While it is going to take up more space on the memory card, it does give you more room to crop in or edit in post. For example, if your framing is not perfect, you can crop in and rotate or essentially reframe it down to 1080p. If you nail all of your compositions you earn the right to upload It onto YouTube in 4K!
Setting 2: ISO

I always have this at 100. ISO is a digital gain > the more you raise ISO the more likely you are to introduce noise, especially in the shadows. Sometimes you have to raise ISO if there is not enough available light. If you choose to do so, just be aware that increasing ISO will introduce greater potential for noise
Setting 3: Frame Rate
My go to frame rate is 30 for regular speed scenes and 60 for slow motion. It is important to plan out your scene before selecting frame rate, whether it is going to be regular speed or slowed down. 30fps looks terrible slowed down, and 60fps looks off at regular speed.
Setting 4: White Balance
I like to set my white balance to custom at 5500K which is pretty a good general daylight setting. If you leave it in Auto White Balance, there is potential for the WB to swing and colors will shift mid shot which is not cinematic. If you don't like the look or feel of 5500k you can increase or decrease to your liking. As a general rule: the higher the number, the warmer your image will look, and the lower the number the cooler it will look. Most importantly, be sure to set your white balance to manual so it does not swing mid shot.
Credit: Mauro's Films
Setting 5: Shutter Speed

The golden rule is to set Set to Double Frame rate. When I am shooting at 30 frames per second for my regular speed scenes, my shutter speed is at 1/60th. When shooting at 60FPS my shutter Speed is at 1/120th. Once you achieve shutter speed double your frame rate, each frame is going to have a blur motion effect which mimics motion the same way our eyes process it in real life, giving it a more natural or cinematic feel. You can try it yourself, wave your hand in front of your face and you can see the blur-motion of your hand. In the video above there are some examples of higher shutter speed. It looks un-natural and jarring in many cases. You will notice if you switch shutter to 1/60th outside, it is going to be severely overexposed. This is where ND filters come in, they help reduce light to get shutter speed under control.
Thanks for checking out the top 5 cinematic settings for the Osmo Pocket. Here at PolarPro we create filters and gear for adventure seeking photographers. We are a team of 30 strong who are constantly cooking up more innovations to help you create better content so be sure to check out all the gear we have to offer for the Osmo Pocket. I hope these tips help you create better content with your Osmo Pocket on your next shoot! The team and I will see next time!